Fitness for One and All Home Page
Books and eBooks by the Director
Reverse Bands Pictures
See the article Bands and Chains for a discussion on
the pics below.
See also Band Pictures and Chains Pictures.
General Set up
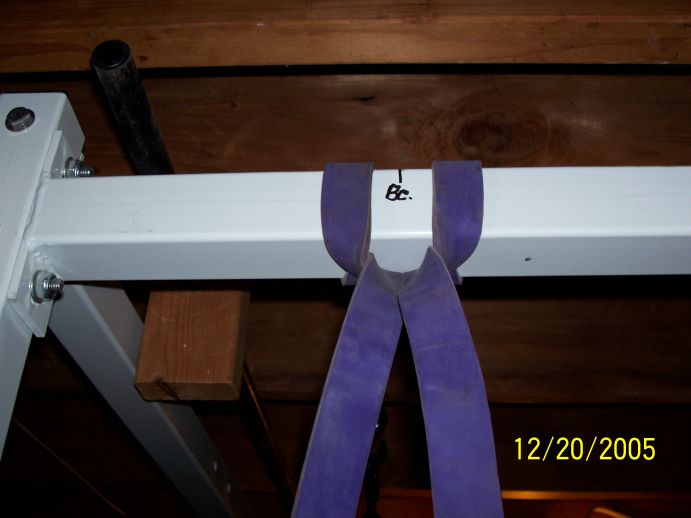
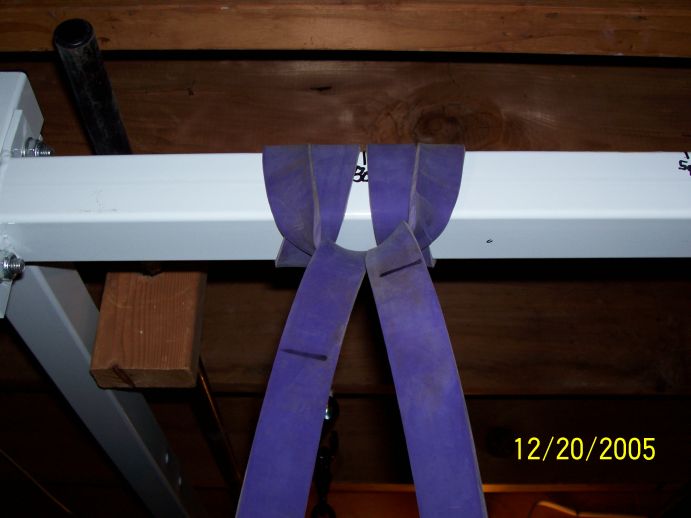
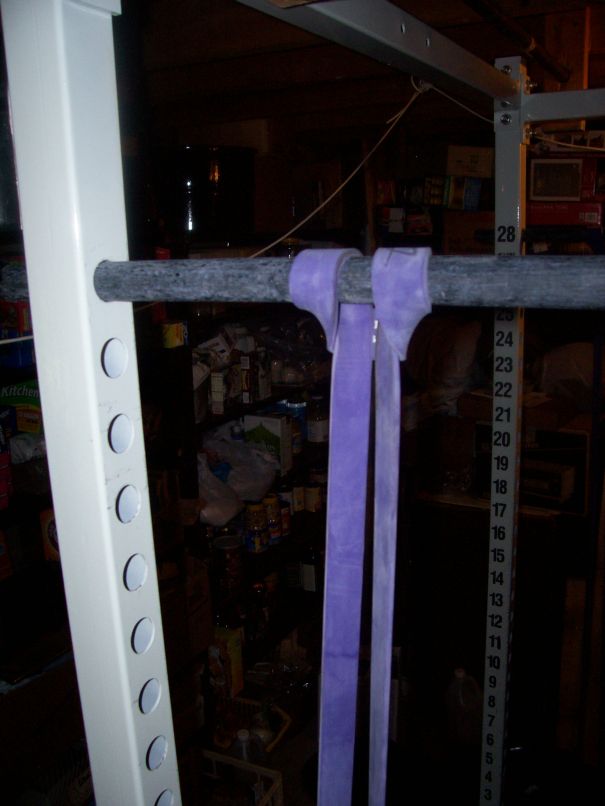
Choking light bands once then twice around the top of the power
rack.
This is done for reverse band work.
I've found I need to choke them once for benches and deadlifts and twice for squats
when using light (#3) bands.
With that amount of tension, the bands add about what full gear adds.
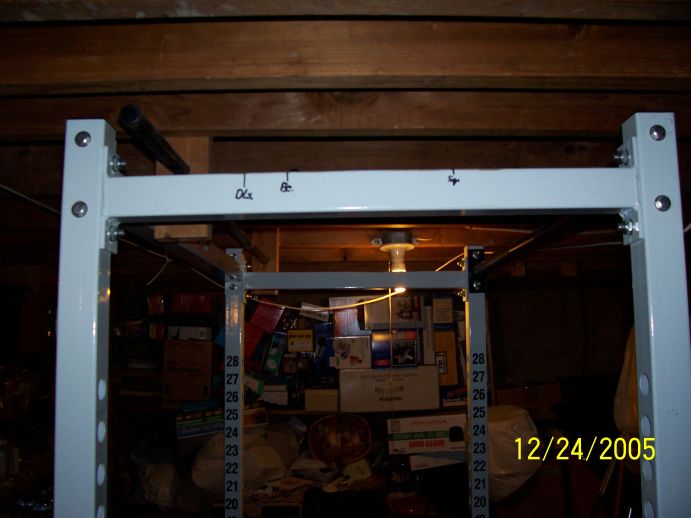
Since I lift in my own home gym, I was able to put marks on the power rack where to put the bands for reverse band work.
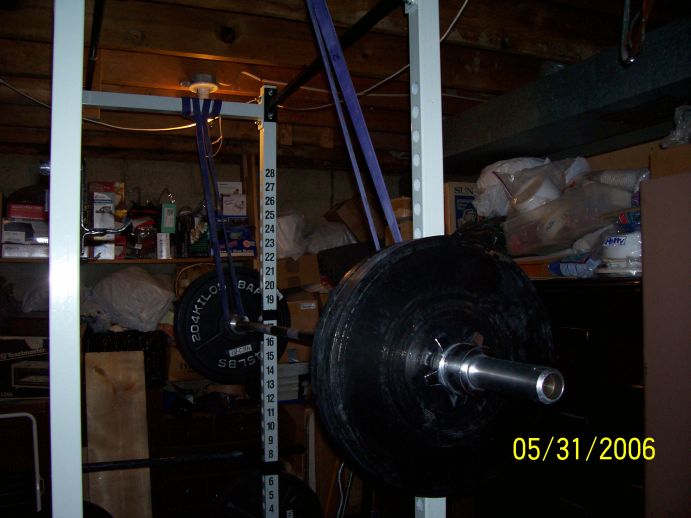
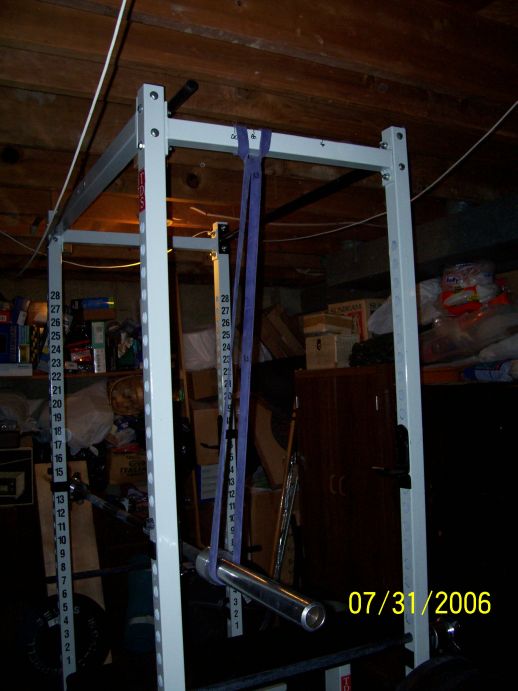
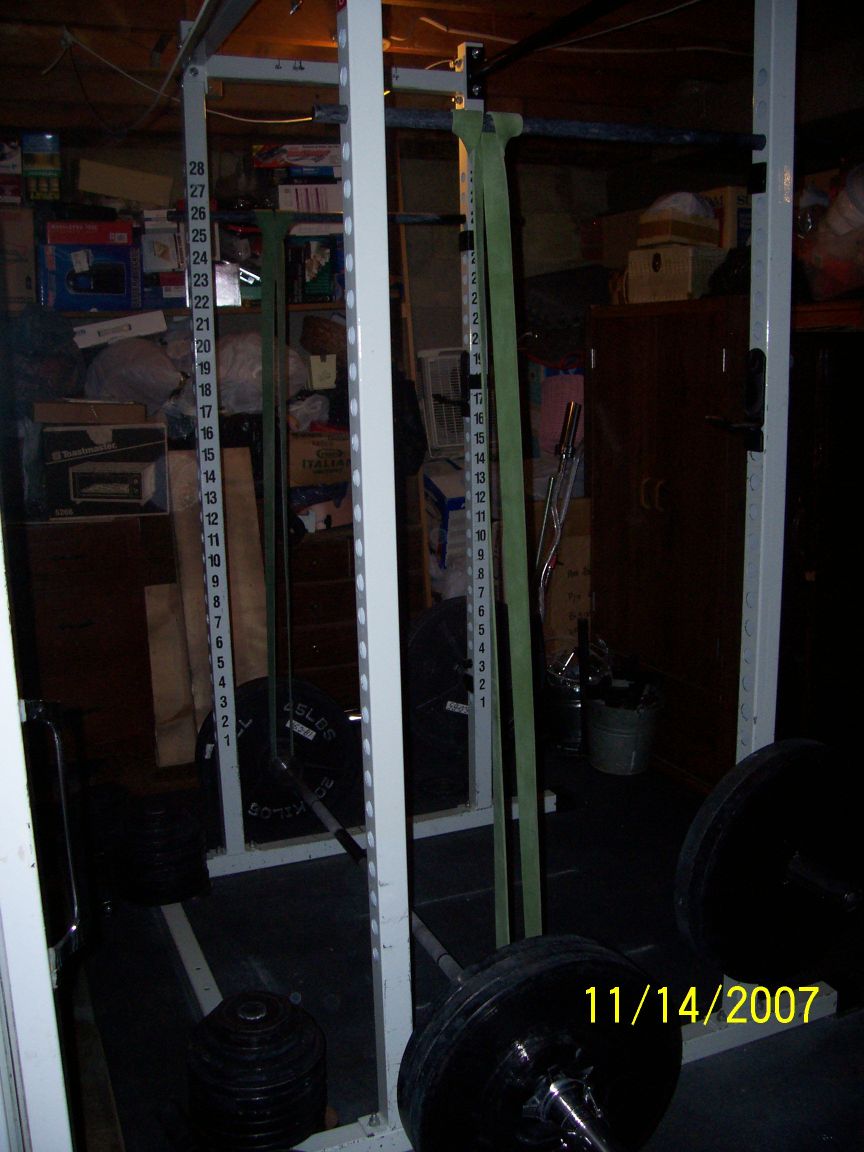
Reverse Band Squats
Setting up for reverse band squats.
When setting up, after the weights are put on one side, be sure to put on a
collar.
When you stretch the bands over the other side, they will pull that side up, and
the plates could slid off the other side without a collar.
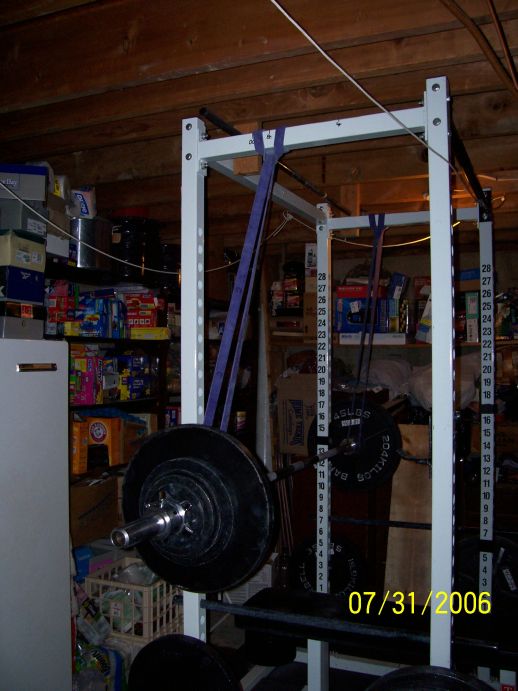
Final set up for reverse band squats.
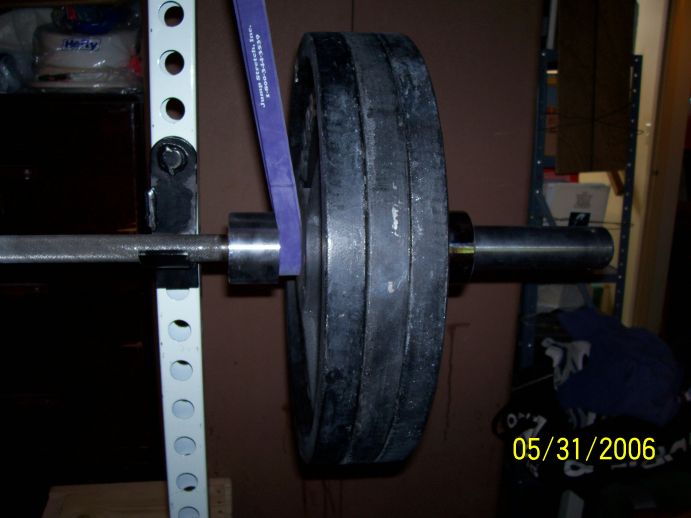
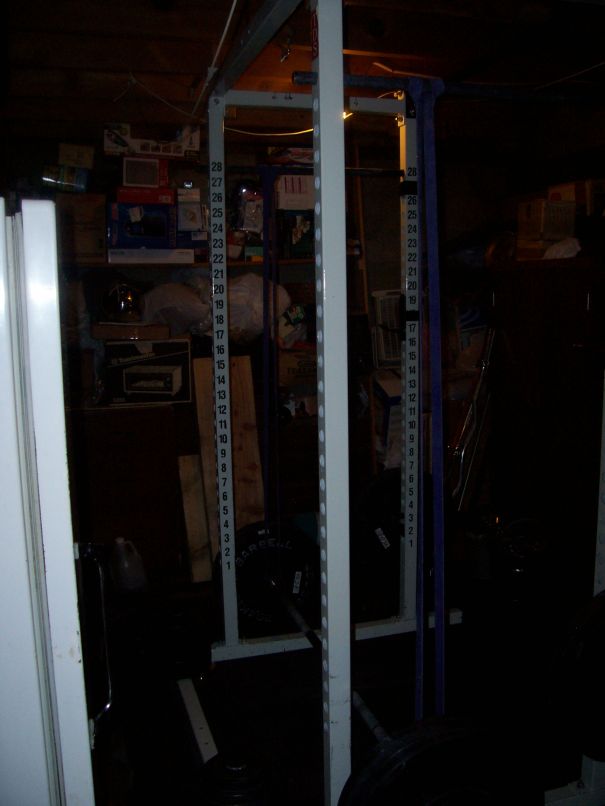
Front, close up view.
Inside view.
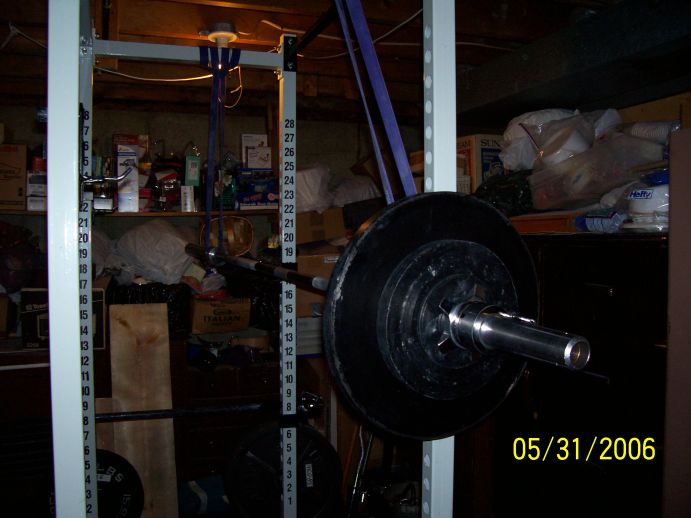
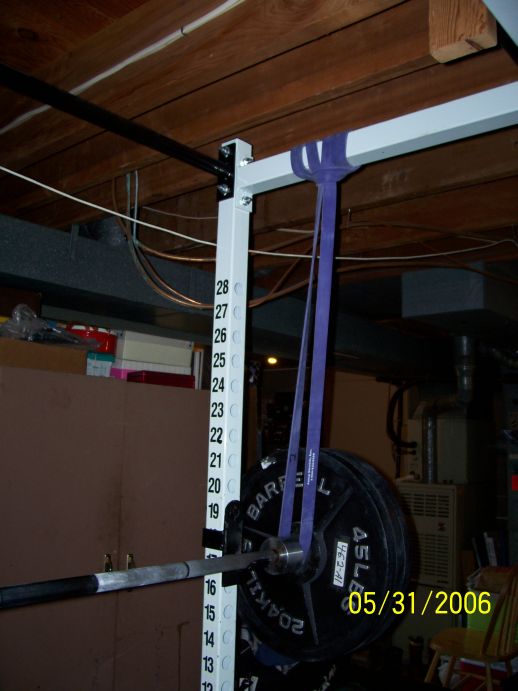
Set-up for squats using average (#4) bands.
With the average bands, I only need to choke them once around the top of the
power rack.
This is a better set-up as there is basically no tension at the top but plenty
at the bottom.
This way, you're handling the full weight on the walkout and set-up.
This conditions your body for handling heavier weights.

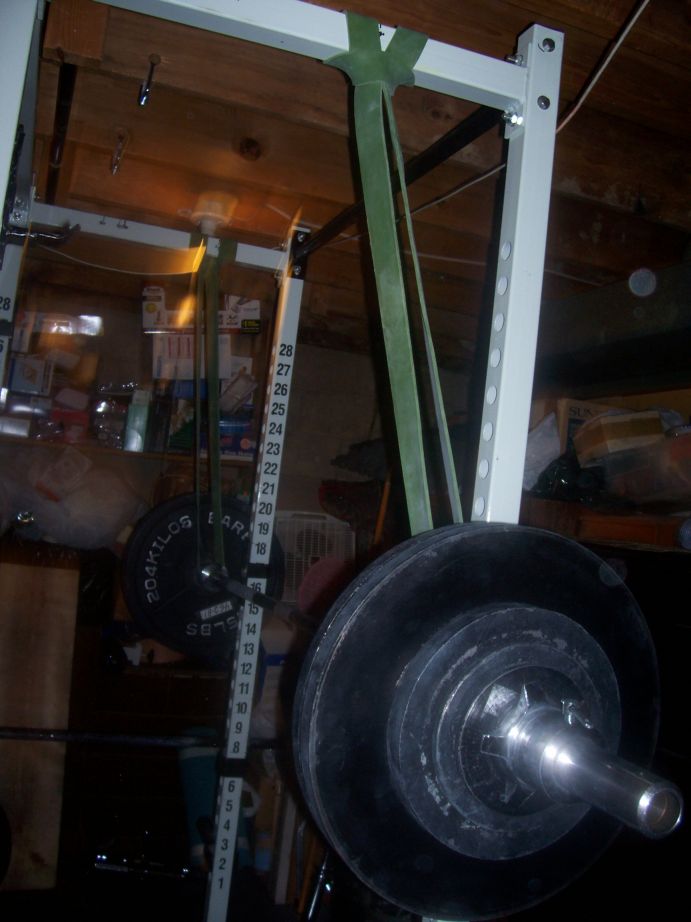
The above has a slightly different set up. The bands are
reversed at the top.
This puts a little more angle and thus tension on the bands.
This is important as the ideal is for there to be virtually no tension at the
top. But the “virtually” is important.
There needs to be just enough tension to keep the bands in place. So try both
set ups, and see which works best.

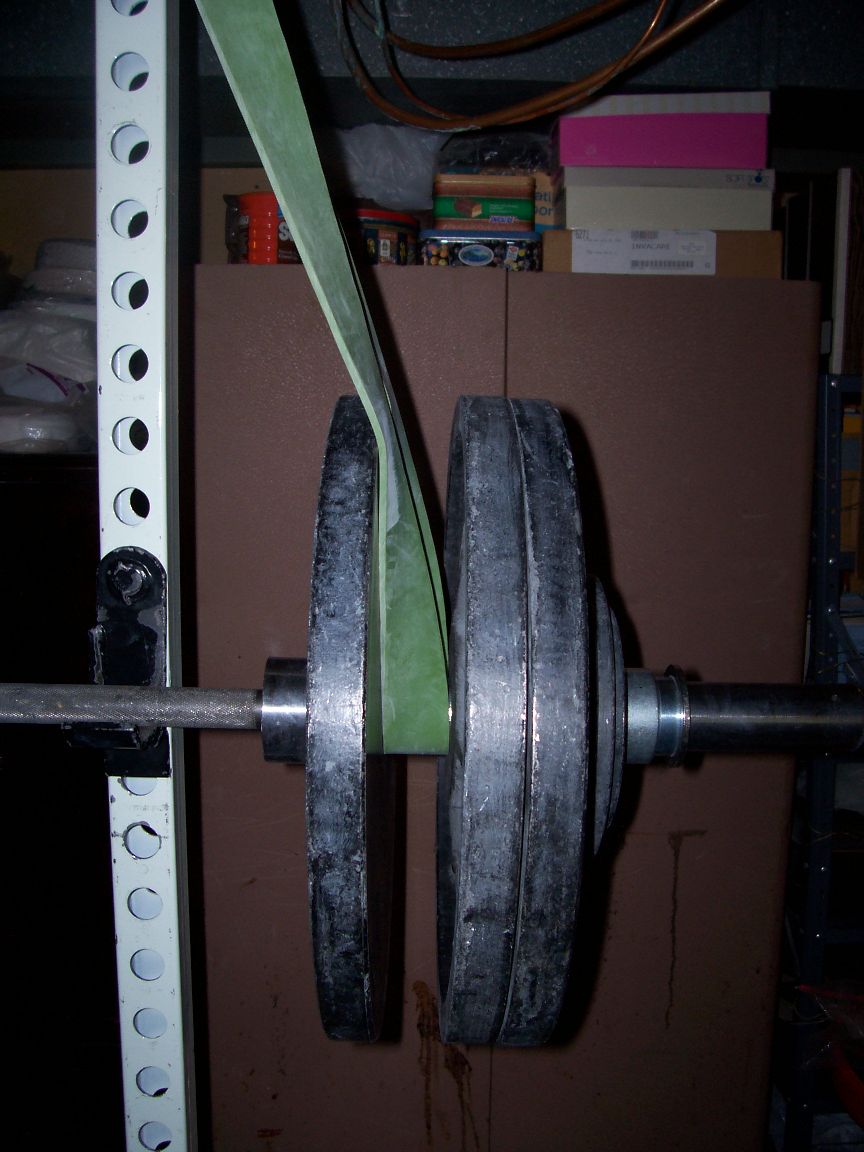
After the previous pictures were taken, I tried changing changed the way I put the bands on the bar. I was placing them inside the weights against the outside of the inner collar. But they tended to slip off. So I tried placing them between the first two plates.
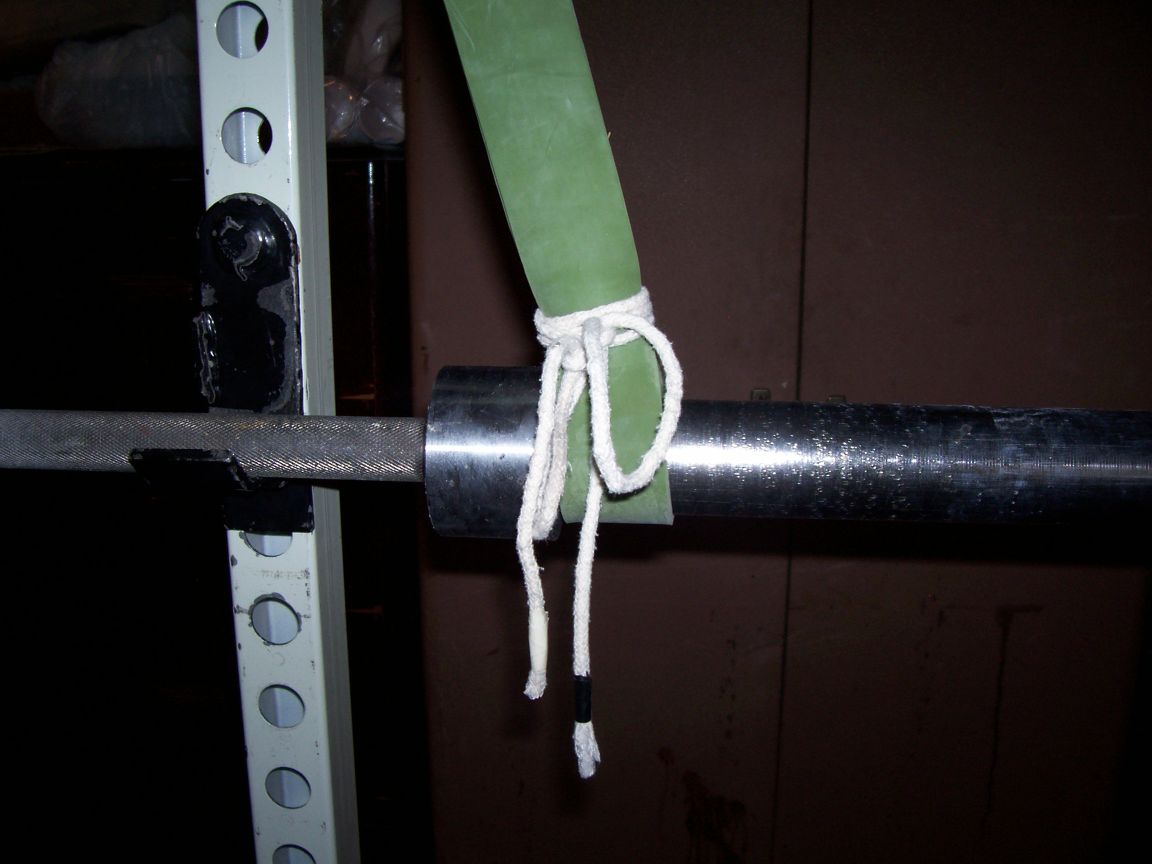
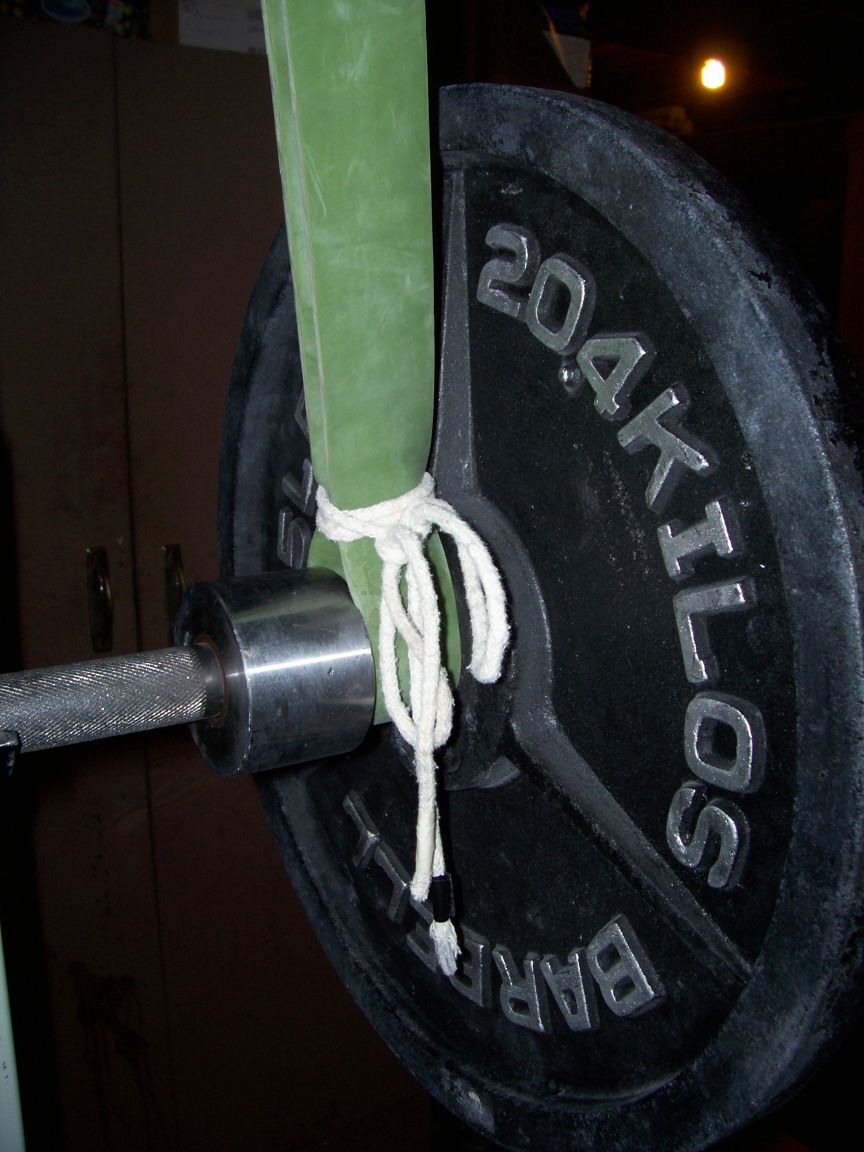
The previous setup kept the bands from slipping, but there was still some tension at the top and way too much in the hole. As such, the exercise was not overloading the walkout like I wanted, and it was making the bottom of the lift way too easy. So I went back to putting the bands in-between the weights and the inside collars. This way, there is basically no tension at the top and not as much in the hole, so the bottom end of the lift still gets some work. To keep the bands from slipping I tied them up with short ropes. I think this final setup is best.
This video is using this final setup. You can see in the upper right-hand corner how the bands are fluttering at top of the lift since there is no tension.
Reverse Band Benches
Setting up the bands. The tension is such that an empty is not
being lifted up by the band.
This way, the lifter is lifting most of the weight at lockout.

A couple of views of the final setup.
For a video of reverse band benches, click here.
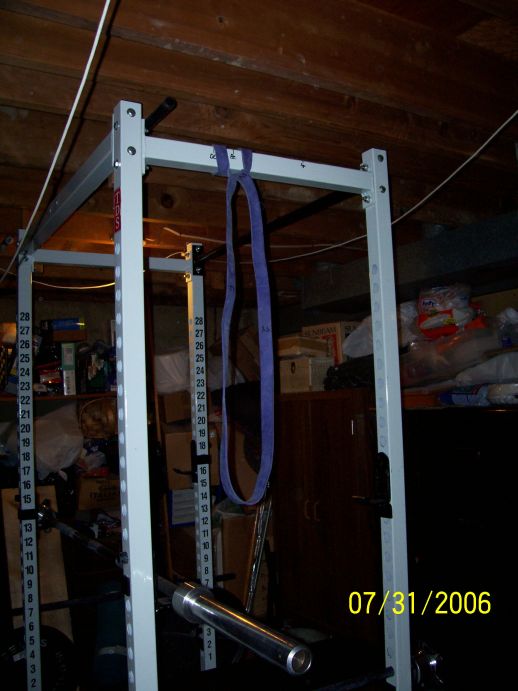
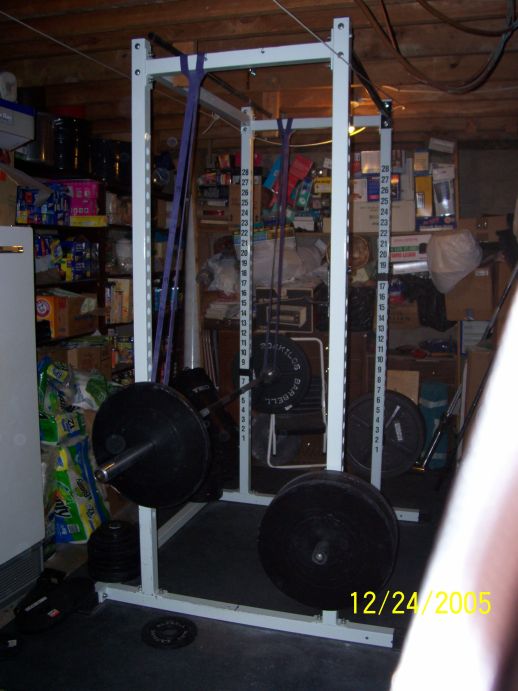
Reverse Band Deadlifts

Set up for reverse band deadlifts.
Another option for DLs is to put the safety bars in the top
holes of the power rack and choke the bands around them.
This way, the bands will deload at the top part of the lift.
As seen above, when I first did RB DLs, I used light (3#) bands choked around the top of my power rack. But there was still too much tension at the top of the lift. So I then tried choking them around the safety bars placed in the top holes of the rack. That lessened the tension at the top, but now there wasn’t enough tension at the bottom, so it wasn’t much different than doing raw DLs.
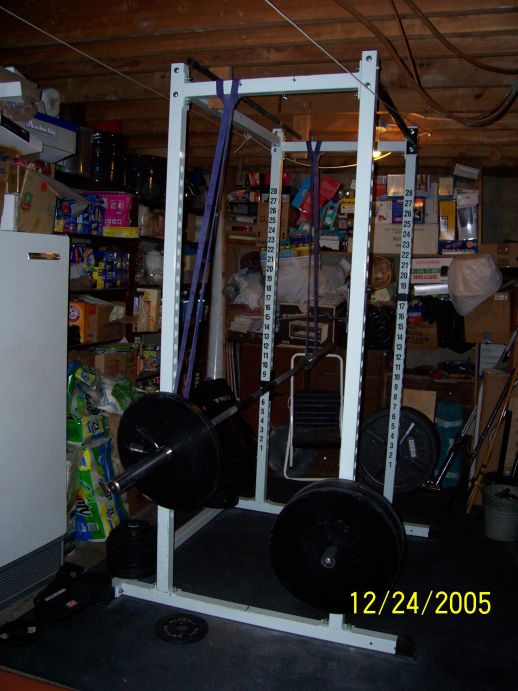
So I switched to average (#4) bands. That gives me greater tension at the bottom. But using the top holes still had some tension at the top of the lift. So instead, I put the safeties two holes down from the top. And that has the bands almost completely deloading at the top but still enough tension at the bottom. The above pic is of this set-up. For a video of this exercise, click here.
When setting up for reverse band deadlifts, it helps to put the bar on the hooks of the power rack at thigh
level until the first pair of 45s is on the bar.
Then lower the bar to the floor to put the rest of the weights on. After the
workout, put the bar back on the hooks to take off the final 45s.
But be sure to put a collar on one side before taking the weight off of the
other side.
Otherwise, the band will pull up the bar on that side and the weight will slid
off of the other side.
Video of Conv Reverse Band Deadlifts
Reverse Bands Pictures. Copyright © 2005-2007 By Gary F. Zeolla.
The first of the above pictures were posted on this site December 26, 2005.
Pics were last added November 16, 2007.
![]() Powerlifting and Strength Training
Powerlifting and Strength Training
![]() Powerlifting and Strength Training: Powerlift Assistance Exercises
Powerlifting and Strength Training: Powerlift Assistance Exercises
![]() Text
Search
Text
Search ![]() Alphabetical
List of Pages
Alphabetical
List of Pages ![]() Contact Information
Contact Information
![]() Fitness for One and All Home Page
Fitness for One and All Home Page
Books and eBooks by the Director